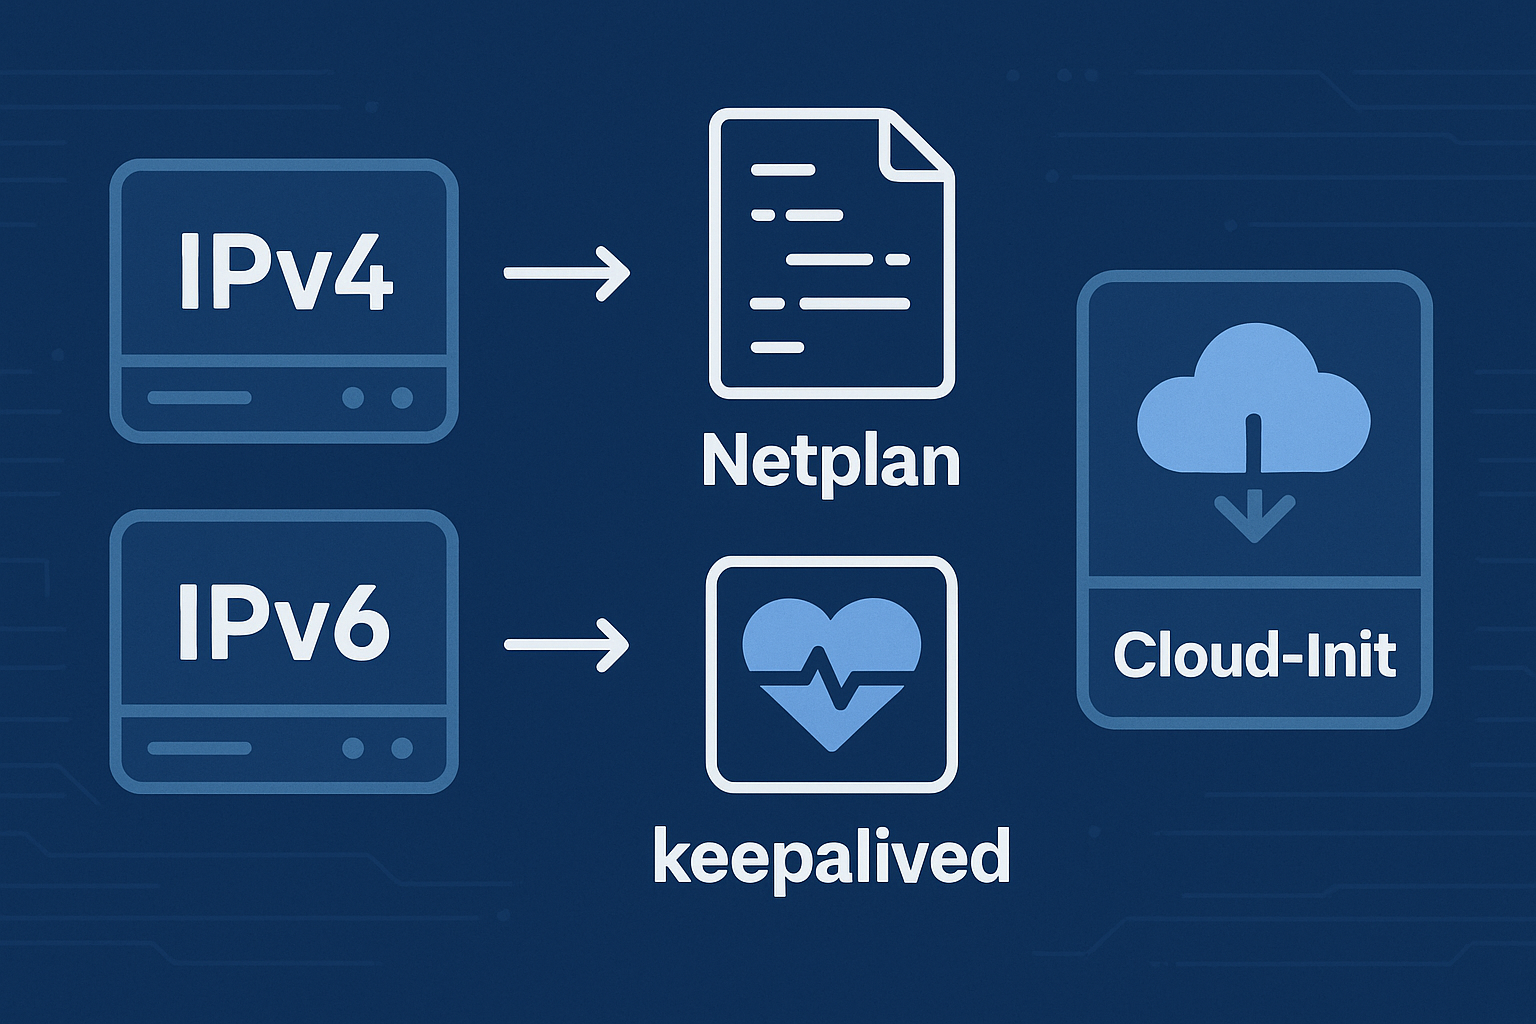
Modern web applications and services often require multiple IP addresses for various purposes: load balancing, high availability setups, SSL certificate management, or service isolation. Ubuntu 24.04 LTS with Netplan provides robust networking capabilities that make configuring multiple IPv4 and IPv6 addresses straightforward and reliable.
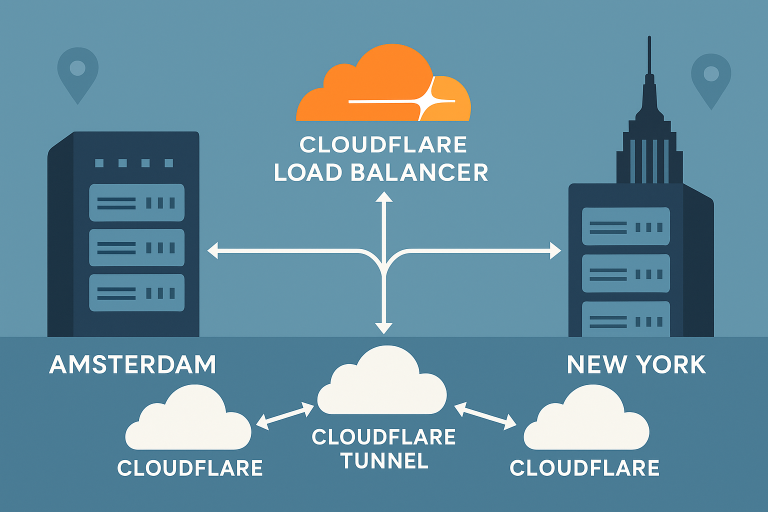
This comprehensive tutorial will guide you through configuring multiple IP addresses on your Ubuntu 24.04 VPS, implementing floating IP failover with keepalived, and automating the entire setup with Cloud-Init. Whether you’re running services on an Onidel VPS in Amsterdam or New York VPS, these techniques will help you build resilient, highly available infrastructure.
Prerequisites
Before starting this tutorial, ensure you have:
- One or more Ubuntu 24.04 LTS VPS instances with root or sudo access
- Additional IPv4/IPv6 addresses allocated to your VPS (contact your provider)
- Basic understanding of Linux networking concepts
- SSH access to your servers
- Minimum 1GB RAM and 1 vCPU for keepalived operations
Important: Always test networking changes in a staging environment first. Incorrect configurations can result in loss of connectivity.
Understanding Netplan and Network Configuration
Ubuntu 24.04 uses Netplan as the default network configuration utility. Netplan generates configuration files for underlying network renderers like NetworkManager or systemd-networkd, providing a unified YAML-based interface.
Netplan Configuration Structure
Netplan configurations are stored in /etc/netplan/ with a .yaml extension. The typical structure includes network interface definitions, addressing schemes, and routing configurations.
Configuring Multiple IPv4 Addresses with Netplan
Step 1: Backup Existing Configuration
First, create a backup of your current network configuration:
sudo cp /etc/netplan/*.yaml /etc/netplan/backup-$(date +%Y%m%d).yamlStep 2: Configure Secondary IPv4 Addresses
Edit your Netplan configuration file (usually /etc/netplan/50-cloud-init.yaml or similar):
network:
  version: 2
  ethernets:
    eth0:
      dhcp4: false
      dhcp6: false
      addresses:
        - 10.0.1.100/24    # Primary IPv4
        - 10.0.1.101/24    # Secondary IPv4 #1
        - 10.0.1.102/24    # Secondary IPv4 #2
      routes:
        - to: default
          via: 10.0.1.1
      nameservers:
        addresses: [8.8.8.8, 1.1.1.1]
Step 3: Apply the Configuration
Test and apply the new configuration:
# Test configuration syntax
sudo netplan try

# If successful, apply permanently
sudo netplan apply

# Verify IP addresses
ip addr show eth0
Configuring Multiple IPv6 Addresses
IPv6 configuration follows similar principles but includes additional considerations for address types and routing:
network:
  version: 2
  ethernets:
    eth0:
      dhcp4: false
      dhcp6: false
      addresses:
        - 10.0.1.100/24
        - 10.0.1.101/24
        - 2001:db8:1::100/64    # Primary IPv6
        - 2001:db8:1::101/64    # Secondary IPv6 #1
        - 2001:db8:1::102/64    # Secondary IPv6 #2
      routes:
        - to: default
          via: 10.0.1.1
        - to: ::/0
          via: 2001:db8:1::1
      nameservers:
        addresses: [8.8.8.8, 2606:4700:4700::1111]
Implementing Floating IP Failover with Keepalived
Step 4: Install Keepalived
Install keepalived on both primary and backup servers:
sudo apt update
sudo apt install keepalived -y

# Enable IP forwarding
echo 'net.ipv4.ip_forward=1' | sudo tee -a /etc/sysctl.conf
sudo sysctl -p
Step 5: Configure Primary Server
Create the keepalived configuration on the primary server:
sudo tee /etc/keepalived/keepalived.conf << 'EOF'
vrrp_script chk_service {
    script "/bin/curl -f http://localhost/ || exit 1"
    interval 2
    weight -2
    fall 3
    rise 2
}

vrrp_instance VI_1 {
    state MASTER
    interface eth0
    virtual_router_id 51
    priority 110
    advert_int 1
    authentication {
        auth_type PASS
        auth_pass your_password_here
    }
    virtual_ipaddress {
        10.0.1.200/24
    }
    track_script {
        chk_service
    }
}
EOF
Step 6: Configure Backup Server
Configure the backup server with lower priority:
sudo tee /etc/keepalived/keepalived.conf << 'EOF'
vrrp_script chk_service {
    script "/bin/curl -f http://localhost/ || exit 1"
    interval 2
    weight -2
    fall 3
    rise 2
}

vrrp_instance VI_1 {
    state BACKUP
    interface eth0
    virtual_router_id 51
    priority 100
    advert_int 1
    authentication {
        auth_type PASS
        auth_pass your_password_here
    }
    virtual_ipaddress {
        10.0.1.200/24
    }
    track_script {
        chk_service
    }
}
EOF
Step 7: Start and Test Keepalived
Enable and start keepalived on both servers:
# Start keepalived
sudo systemctl enable keepalived
sudo systemctl start keepalived

# Check status
sudo systemctl status keepalived

# Monitor logs
sudo journalctl -u keepalived -f
Cloud-Init Integration for Automated Setup
Automate your entire network configuration using Cloud-Init templates. This approach ensures consistent deployments across your infrastructure.
Step 8: Create Cloud-Init Configuration
#cloud-config
package_update: true
packages:
  - keepalived
  - curl

write_files:
  - path: /etc/netplan/99-multiple-ips.yaml
    owner: root:root
    permissions: '0600'
    content: |
      network:
        version: 2
        ethernets:
          eth0:
            dhcp4: false
            dhcp6: false
            addresses:
              - 10.0.1.100/24
              - 10.0.1.101/24
              - 2001:db8:1::100/64
              - 2001:db8:1::101/64
            routes:
              - to: default
                via: 10.0.1.1
            nameservers:
              addresses: [8.8.8.8, 1.1.1.1]

  - path: /etc/keepalived/keepalived.conf
    owner: root:root
    permissions: '0600'
    content: |
      vrrp_instance VI_1 {
          state MASTER
          interface eth0
          virtual_router_id 51
          priority 110
          advert_int 1
          authentication {
              auth_type PASS
              auth_pass secure_password_123
          }
          virtual_ipaddress {
              10.0.1.200/24
          }
      }

runcmd:
  - [netplan, apply]
  - [systemctl, enable, keepalived]
  - [systemctl, start, keepalived]
  - [sysctl, -w, net.ipv4.ip_forward=1]
Best Practices and Security Considerations
Network Security: Always configure proper firewall rules when using multiple IP addresses. Consider implementing traffic segmentation and monitoring.
IPv6 Considerations: When configuring dual-stack environments, ensure both IPv4 and IPv6 routes are properly configured to avoid connectivity issues.
Testing Failover: Regularly test your keepalived failover mechanisms by stopping services on the primary server and verifying automatic failover to backup systems.
Monitoring: Implement comprehensive monitoring for your multi-IP setup. Consider using tools from our observability stack guide.
Essential Troubleshooting Commands
# Check IP configuration
ip addr show

# Test network connectivity
ping -I 10.0.1.101 google.com

# Monitor keepalived status
sudo tail -f /var/log/syslog | grep keepalived

# Validate Netplan configuration
sudo netplan --debug apply
Conclusion
Configuring multiple IPv4 and IPv6 addresses on Ubuntu 24.04 VPS provides the foundation for building highly available, resilient applications. Combined with keepalived for floating IP failover and Cloud-Init for automation, you can create production-ready infrastructure that scales with your needs.
This setup is particularly valuable for applications requiring geographic distribution, such as those deployed across Amsterdam and New York VPS regions. The techniques covered in this tutorial form the networking foundation for advanced architectures like active-active VPS deployments.
Ready to implement these networking configurations? Explore our high-performance VPS solutions in Amsterdam and New York, featuring AMD EPYC processors, NVMe storage, and advanced networking capabilities to support your multi-IP infrastructure requirements.