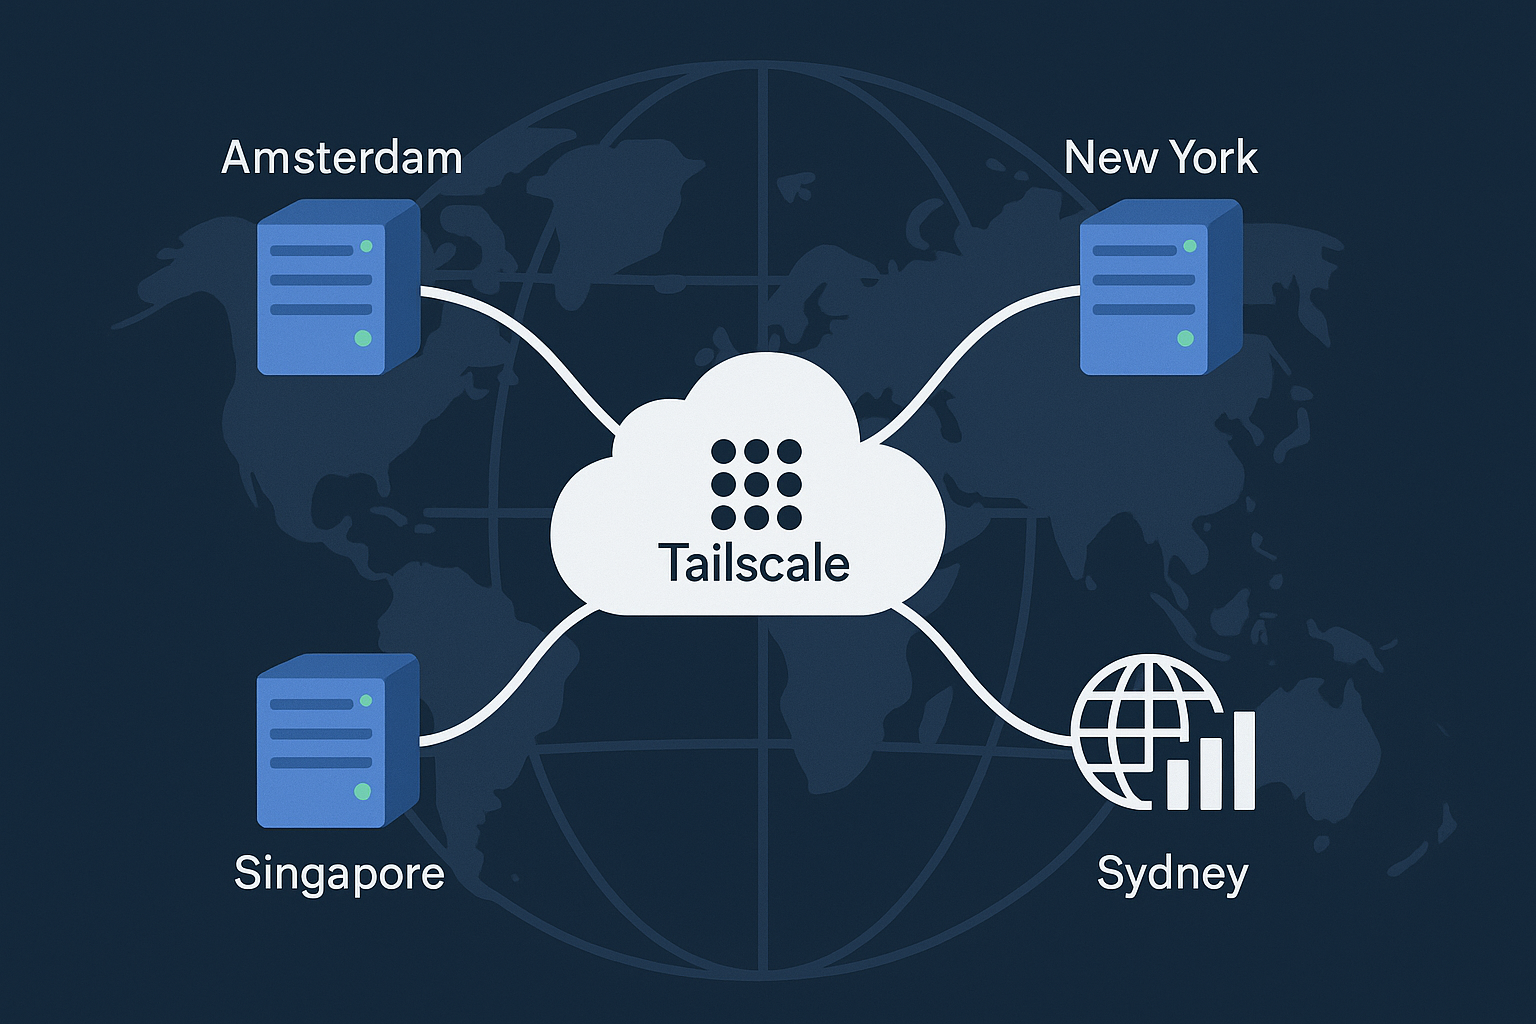
Tailscale’s DERP (Designated Encrypted Relay for Packets) servers act as fallback relays when devices cannot establish direct peer-to-peer connections due to NAT traversal failures. By deploying your own DERP network across multiple regions, you can reduce latency, improve reliability, and maintain better control over your mesh network traffic.
This comprehensive guide demonstrates how to deploy a global DERP network across Amsterdam VPS and New York VPS instances, with additional nodes in Singapore and Sydney, complete with GeoDNS routing, TLS encryption, dual-stack IPv4/IPv6 support, and comprehensive Prometheus/Grafana monitoring.
Prerequisites
Before proceeding, ensure you have:
- 4 Ubuntu 24.04 LTS VPS instances (minimum 1GB RAM, 1 vCPU each) across Amsterdam, New York, Singapore, and Sydney
- Root access or sudo privileges on all servers
- Domain name with DNS management capabilities
- Valid TLS certificates (Let’s Encrypt or commercial)
- Tailscale account with admin access
- Basic knowledge of Linux system administration and networking concepts
System requirements: Ubuntu 24.04 LTS, 1GB+ RAM, 10GB+ storage, and reliable network connectivity with low latency routing.
Step-by-Step Tutorial
Step 1: Install and Configure DERPER on Each Region
First, install the DERPER binary on each VPS. Start with your Amsterdam server:
# Update system packages
sudo apt update && sudo apt upgrade -y

# Install required dependencies
sudo apt install -y wget curl certbot nginx

# Download DERPER binary
wget https://pkgs.tailscale.com/stable/ubuntu/pool/tailscale_1.56.1_amd64.deb
sudo dpkg -i tailscale_1.56.1_amd64.deb

# Create DERPER user and directories
sudo useradd -r -s /bin/false -d /var/lib/derper derper
sudo mkdir -p /var/lib/derper /etc/derper
sudo chown derper:derper /var/lib/derper
Create the DERPER configuration file:
# Create DERPER config
sudo tee /etc/derper/derper.conf << 'EOF'
{
  "RegionID": 900,
  "RegionCode": "ams",
  "RegionName": "Amsterdam",
  "Nodes": [
    {
      "Name": "ams1",
      "RegionID": 900,
      "IPv4": "YOUR_AMSTERDAM_IPv4",
      "IPv6": "YOUR_AMSTERDAM_IPv6",
      "DERPPort": 443,
      "STUNPort": 3478
    }
  ]
}
EOF
Step 2: Configure TLS Certificates
Obtain TLS certificates for each DERP endpoint using Let’s Encrypt:
# Install certbot and obtain certificates
sudo certbot certonly --standalone \
  -d derp-ams.yourdomain.com \
  --agree-tos --no-eff-email \
  -m [email protected]

# Set up certificate renewal
sudo systemctl enable --now certbot.timer

# Create certificate symbolic links for DERPER
sudo ln -sf /etc/letsencrypt/live/derp-ams.yourdomain.com/fullchain.pem /etc/derper/cert.pem
sudo ln -sf /etc/letsencrypt/live/derp-ams.yourdomain.com/privkey.pem /etc/derper/key.pem
Step 3: Create DERPER Systemd Service
Configure DERPER as a systemd service for automatic startup and management:
# Create systemd service file
sudo tee /etc/systemd/system/derper.service << 'EOF'
[Unit]
Description=Tailscale DERP Server
After=network.target
Wants=network.target

[Service]
User=derper
Group=derper
ExecStart=/usr/bin/derper \
  -hostname=derp-ams.yourdomain.com \
  -a=:443 \
  -stun \
  -stun-port=3478 \
  -certdir=/etc/derper \
  -verify-clients
Restart=always
RestartSec=5
LimitNOFILE=1048576

[Install]
WantedBy=multi-user.target
EOF

# Enable and start the service
sudo systemctl daemon-reload
sudo systemctl enable --now derper.service
Step 4: Configure Firewall Rules
Set up dual-stack IPv4/IPv6 firewall rules using UFW:
# Enable UFW and configure basic rules
sudo ufw --force reset
sudo ufw default deny incoming
sudo ufw default allow outgoing

# Allow SSH (change port if needed)
sudo ufw allow 22/tcp

# Allow DERP and STUN traffic
sudo ufw allow 443/tcp comment 'DERP HTTPS'
sudo ufw allow 3478/udp comment 'STUN'

# Allow ICMP for both IPv4 and IPv6
sudo ufw allow from any to any protocol icmp
sudo ufw allow from any to any protocol ipv6-icmp

# Enable firewall
sudo ufw --force enable
Step 5: Configure GeoDNS for Global Load Balancing
Set up GeoDNS routing to automatically direct clients to the nearest DERP server. Create DNS records for each region:
# Example DNS configuration (adjust based on your DNS provider)
# Main DERP endpoint with GeoDNS policies
derp IN CNAME derp-geo

# Regional endpoints
derp-ams IN A YOUR_AMSTERDAM_IPv4
derp-ams IN AAAA YOUR_AMSTERDAM_IPv6

derp-nyc IN A YOUR_NEWYORK_IPv4
derp-nyc IN AAAA YOUR_NEWYORK_IPv6

derp-sin IN A YOUR_SINGAPORE_IPv4
derp-sin IN AAAA YOUR_SINGAPORE_IPv6

derp-syd IN A YOUR_SYDNEY_IPv4
derp-syd IN AAAA YOUR_SYDNEY_IPv6
Step 6: Integrate Custom DERPs with Tailscale
Add your custom DERP servers to your Tailscale network configuration:
{
  "Regions": {
    "900": {
      "RegionID": 900,
      "RegionCode": "ams",
      "RegionName": "Amsterdam Custom",
      "Nodes": [
        {
          "Name": "ams1",
          "RegionID": 900,
          "HostName": "derp-ams.yourdomain.com",
          "IPv4": "YOUR_AMSTERDAM_IPv4",
          "IPv6": "YOUR_AMSTERDAM_IPv6",
          "STUNPort": 3478,
          "DERPPort": 443
        }
      ]
    },
    "901": {
      "RegionID": 901,
      "RegionCode": "nyc",
      "RegionName": "New York Custom",
      "Nodes": [
        {
          "Name": "nyc1",
          "RegionID": 901,
          "HostName": "derp-nyc.yourdomain.com",
          "IPv4": "YOUR_NEWYORK_IPv4",
          "IPv6": "YOUR_NEWYORK_IPv6",
          "STUNPort": 3478,
          "DERPPort": 443
        }
      ]
    }
  }
}
Step 7: Deploy Prometheus and Grafana Monitoring
Install Prometheus and Grafana for comprehensive DERP network monitoring. Similar to our observability stack guide, create a monitoring server:
# Install Docker and Docker Compose
curl -fsSL https://get.docker.com | sh
sudo usermod -aG docker $USER

# Create monitoring stack
mkdir -p ~/derp-monitoring
cd ~/derp-monitoring

# Create docker-compose.yml for monitoring
tee docker-compose.yml << 'EOF'
version: '3.8'
services:
  prometheus:
    image: prom/prometheus:latest
    ports:
      - "9090:9090"
    volumes:
      - ./prometheus.yml:/etc/prometheus/prometheus.yml
      - prometheus_data:/prometheus
    command:
      - '--config.file=/etc/prometheus/prometheus.yml'
      - '--storage.tsdb.path=/prometheus'
      - '--web.console.libraries=/etc/prometheus/console_libraries'
      - '--web.console.templates=/etc/prometheus/consoles'
      - '--web.enable-lifecycle'

  grafana:
    image: grafana/grafana:latest
    ports:
      - "3000:3000"
    volumes:
      - grafana_data:/var/lib/grafana
    environment:
      - GF_SECURITY_ADMIN_PASSWORD=your_secure_password

volumes:
  prometheus_data:
  grafana_data:
EOF
Step 8: Configure DERP Metrics Collection
Create custom monitoring for DERP server health and performance:
# Create prometheus.yml
global:
  scrape_interval: 15s
  evaluation_interval: 15s

scrape_configs:
  - job_name: 'derp-servers'
    static_configs:
      - targets:
        - 'derp-ams.yourdomain.com:443'
        - 'derp-nyc.yourdomain.com:443'
        - 'derp-sin.yourdomain.com:443'
        - 'derp-syd.yourdomain.com:443'
    metrics_path: '/debug/metrics'
    scheme: 'https'
    scrape_interval: 30s
Start the monitoring stack:
# Start monitoring services
docker-compose up -d

# Verify services are running
docker-compose ps
Best Practices
Security Considerations:
- Certificate Management: Use automated certificate renewal with certbot hooks to restart DERPER services
- Access Control: Enable
-verify-clientsflag to validate Tailscale client certificates - Rate Limiting: Implement connection limits and DDoS protection at the network level
- Monitoring: Set up alerts for DERP server downtime and unusual traffic patterns
Performance Optimization:
- Resource Allocation: Monitor CPU and memory usage; scale vertically for high-traffic deployments
- Network Tuning: Enable BBR v3 congestion control for improved throughput
- Geographic Distribution: Place DERP servers close to your user base for minimal latency
- Redundancy: Deploy multiple DERP nodes per region for high availability
Operational Excellence:
- Backup Strategy: Regularly backup configuration files and certificates
- Update Management: Keep DERPER binaries updated with the latest Tailscale releases
- Log Analysis: Monitor DERP logs for connection patterns and troubleshooting
- Capacity Planning: Track bandwidth usage and plan for traffic growth
Conclusion
You’ve successfully deployed a globally distributed Tailscale DERP network with advanced features including GeoDNS routing, TLS encryption, dual-stack IPv4/IPv6 support, and comprehensive monitoring. This setup provides improved performance, reduced latency, and better reliability for your Tailscale mesh network.
The combination of strategically placed DERP servers across Amsterdam and New York, along with Asia-Pacific presence in Singapore and Sydney, ensures optimal connectivity for users worldwide. The integrated monitoring stack provides visibility into network performance and helps maintain service reliability.
For high-performance VPS deployments that support advanced networking features like the ones demonstrated in this tutorial, consider exploring Onidel’s Amsterdam VPS and New York VPS offerings, which provide the low-latency connectivity and reliable infrastructure needed for mission-critical DERP deployments.